
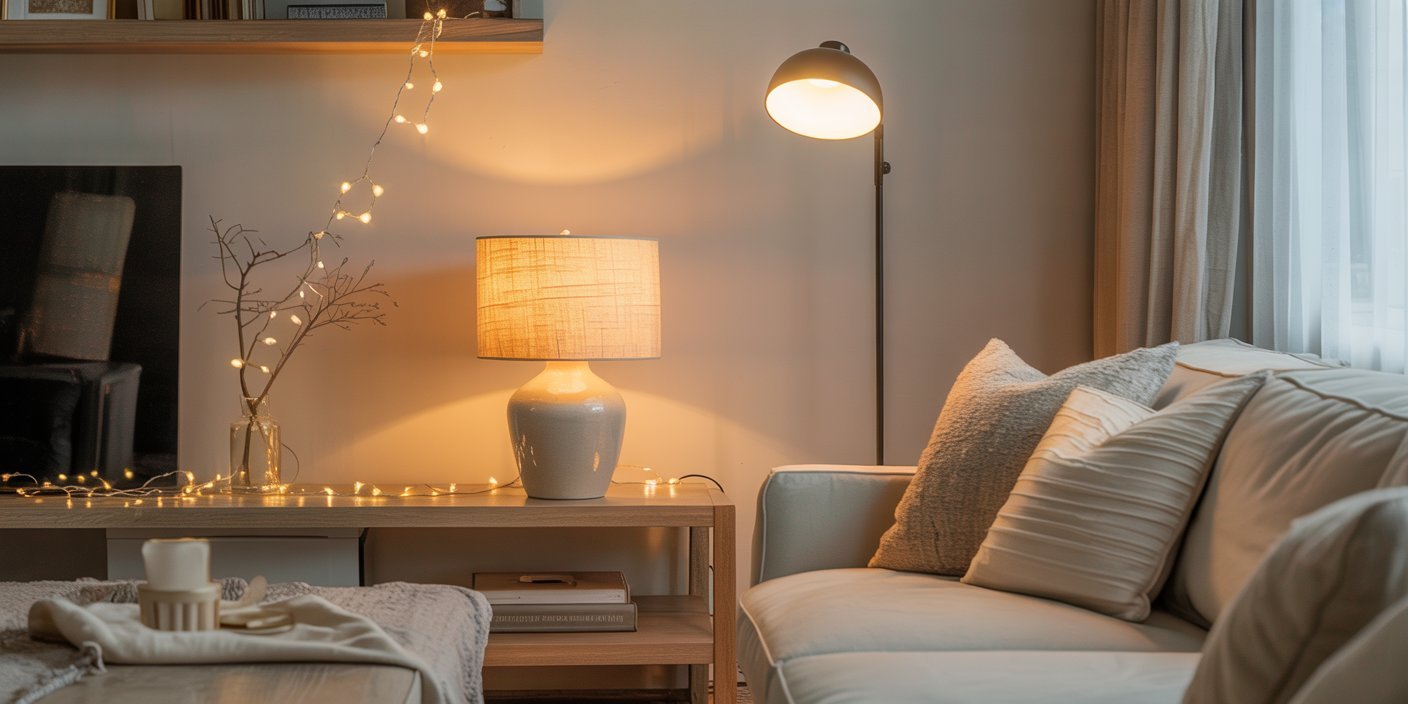
If you’re looking to improve the lighting in your space but don’t have the budget to splurge at high-end designer stores, this post is for you.
Lighting can completely transform how a room feels, but it doesn’t have to cost a fortune.
With a little creativity and some thrifted finds, you can create lighting that looks custom, elevated, and intentional without sacrificing style.
Below, I’m sharing some of my favorite cost-effective lighting hacks, inspired by trends I’ve been seeing everywhere lately.
These ideas are renter-friendly in many cases, beginner-friendly if you’re new to DIY, and all about working with what you can find secondhand.
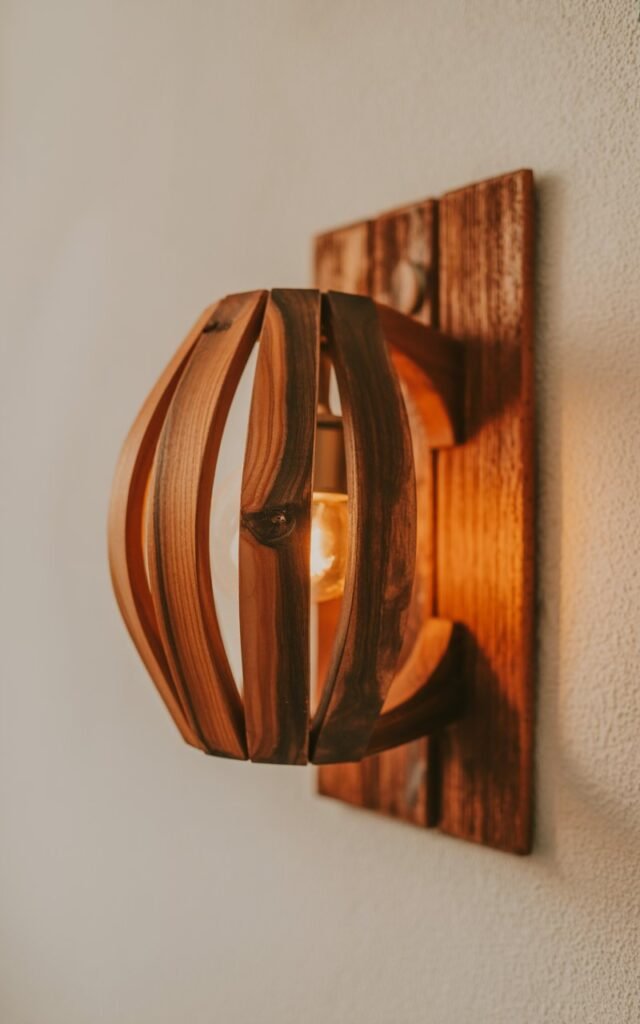
DIY Wooden Globe Wall Sconce From Thrifted Finds
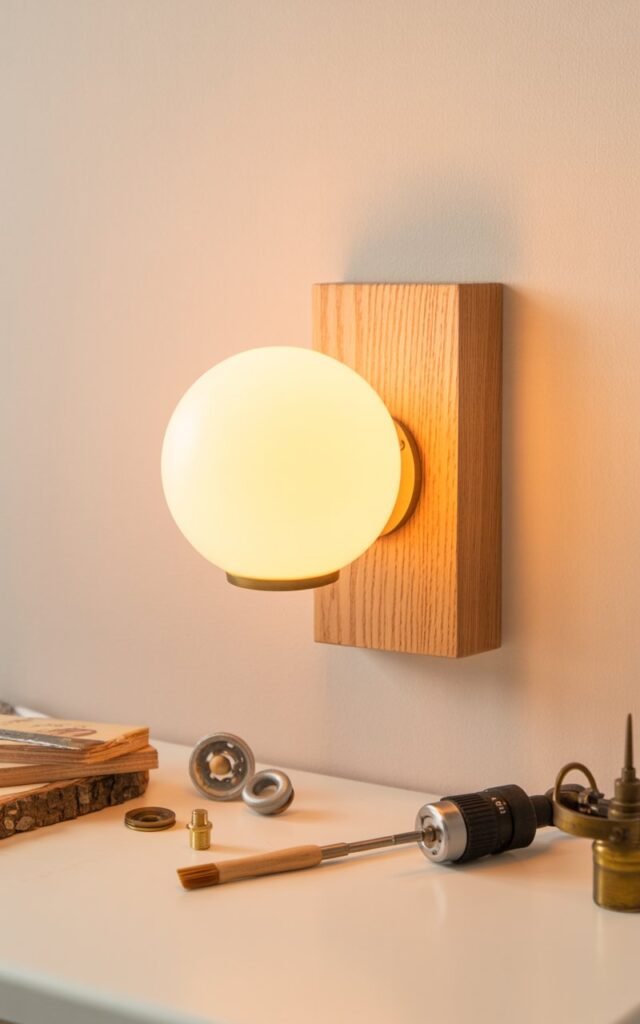
One lighting trend I’ve been seeing everywhere lately is the wooden globe wall sconce.
They show up constantly on designer websites and inspiration feeds, but the price tags are usually not budget-friendly.
The good news is this is a look you can recreate using thrift store items.
Over the years, I’ve collected quite a few wooden bowls from thrift stores, and most recently I found the perfect one for just three dollars at Goodwill.
When looking for a bowl, the key is the shape. You want something with a flat bottom so it can sit flush against the wall.
To create the opening for the globe light, there’s no need for heavy-duty tools like a jigsaw.
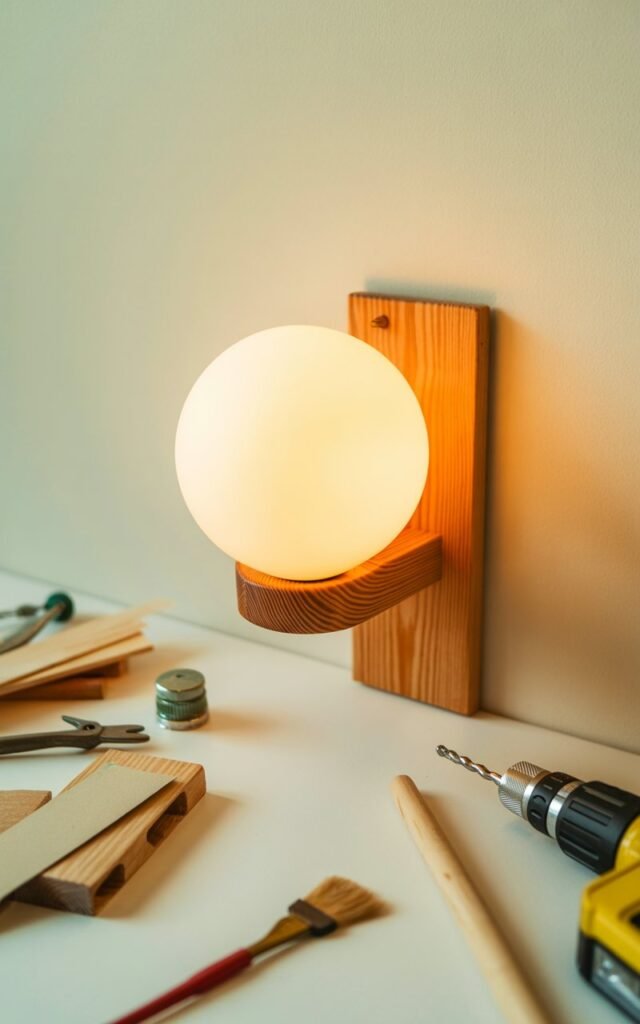
I simply traced the size of the opening I needed, drilled small pilot holes all the way around, and then gently pried the center out using a flathead screwdriver and a hammer.
After that, I sanded the bowl smooth.
For the finish, I went with a more primitive, aged look since that’s the style I love in my space.
I used a mix of Krylon spray paint, Tiki wax, and a stain called Tinsmith Gray, watered down until I got the exact tone I wanted.
I found the globe light itself at Big Lots while they were going out of business and paid about three dollars and fifty cents for it.
I made sure the threads fit securely, tested it to confirm it worked, and then removed the felt from the bottom so it could be mounted on the wall.
While it’s not an exact designer dupe, for about seven dollars total, it comes very close.
Thrifted Lamp Makeover With Travertine Tile
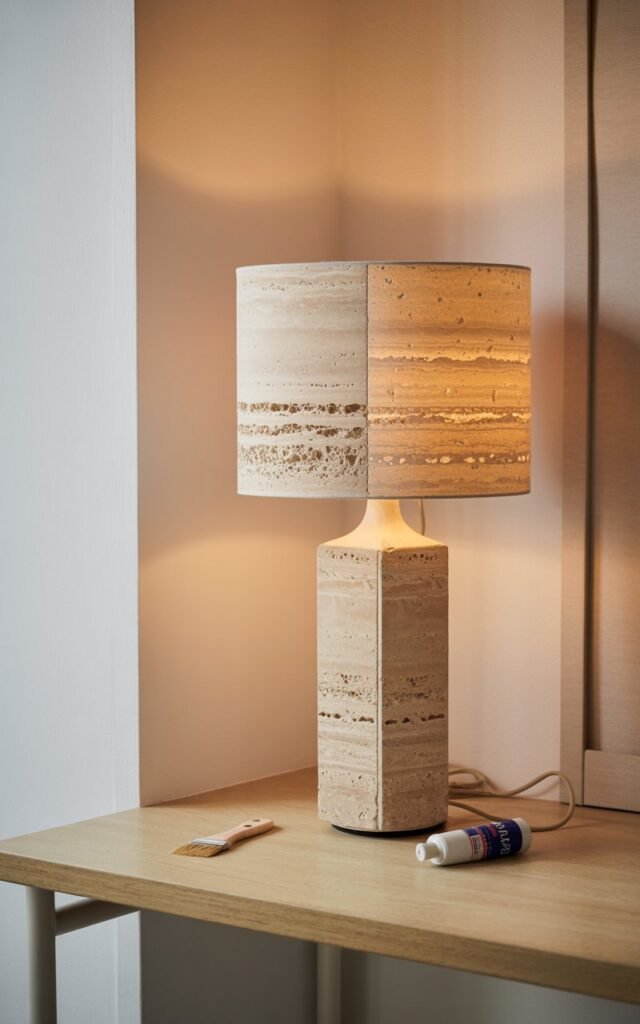
Travertine lighting has been everywhere lately, from table lamps to floor lamps, and the retail versions can be incredibly expensive.
While it’s sometimes possible to find travertine tiles at thrift stores, this particular lamp required a different approach.
I started with a thrifted lamp base and took it with me to Menards to browse their travertine tile selection.
I chose sheet travertine because it fit the scale of the lamp better.
I also picked up some inexpensive particle board to box out the middle section of the lamp so the tiles could adhere properly.
Instead of cutting multiple tile pieces, I cut the particle board to size using a miter saw and made the tile fit the wood.
To create a solid structure, I taped everything in place and secured it so it became one solid block.
For adhesive, I used Ultralight D2.
While tile adhesive is often applied with a trowel, the small tile size made that messy, so I opted to score the adhesive to create grooves and applied it directly to both the tiles and the lamp base.
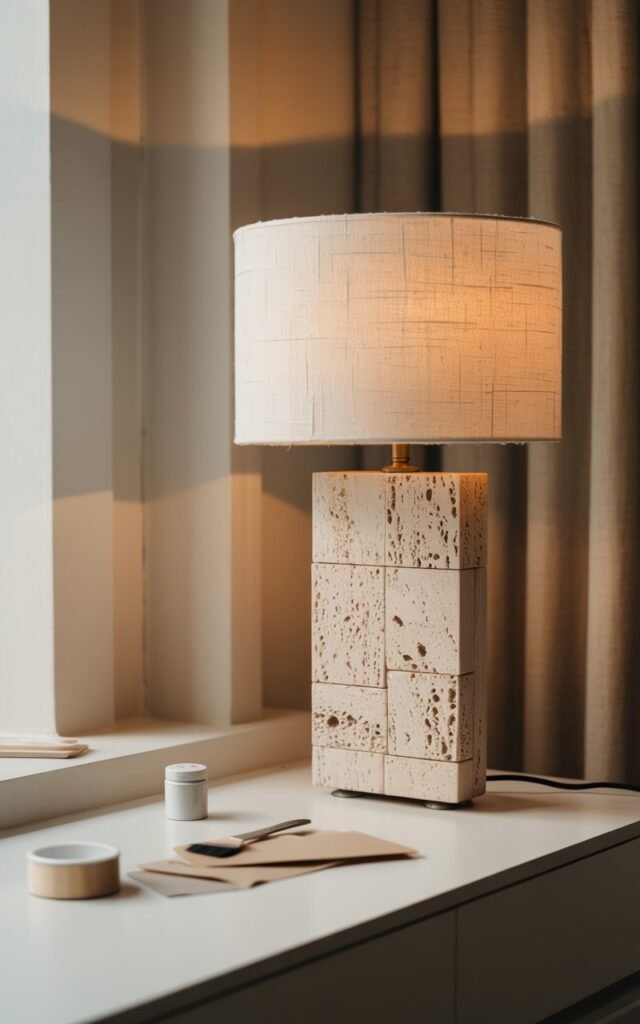
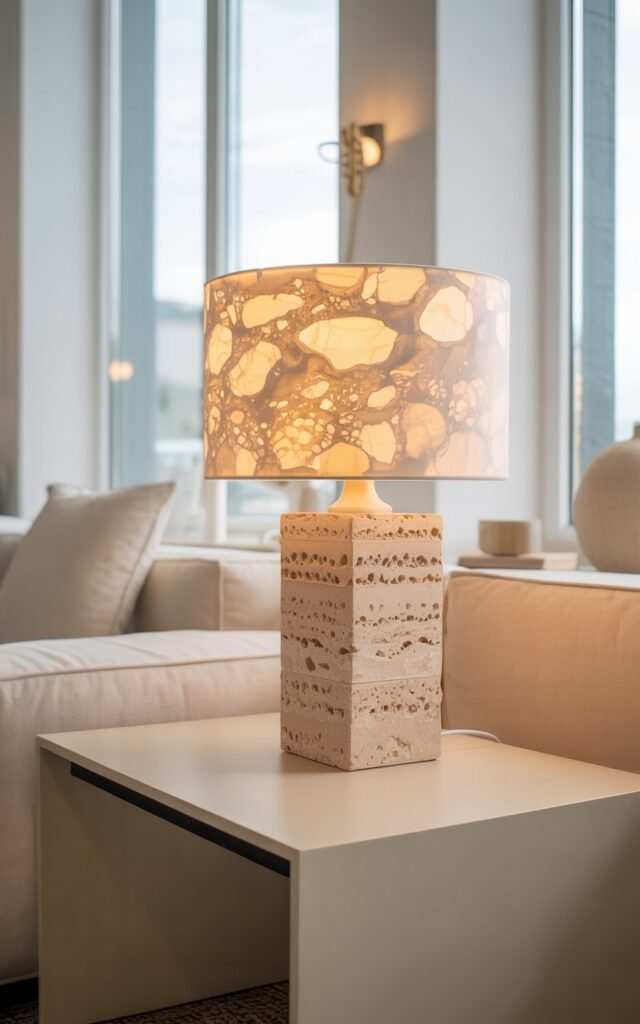
One thing I love about tile is how much the final look can change just by adjusting the orientation.
I went with a stacked layout and varied the side placement for visual interest.
After filling the seams with grout and adding a lampshade from my stash, the lamp was completely transformed.
For around twenty-five dollars total, it went from basic thrift store find to a piece that looks beautiful on a dresser.
Turning a Woven Vase Into a Moody Lamp Base
Over the past few years, there’s been a noticeable shift from bright and airy spaces toward a more moody, layered aesthetic.
When I found a tall woven vase at the Goodwill bins for just a few dollars, I knew it would make the perfect lamp base.
Some of the lattice detail was already coming loose, so I removed it entirely.
I drilled a hole through the bottom so the socket and cord could run through properly.
For paint, I used a matte coffee bean color and lightly dusted black paint over it to add depth and dimension.
Once the base was finished, it was time to choose a lampshade.
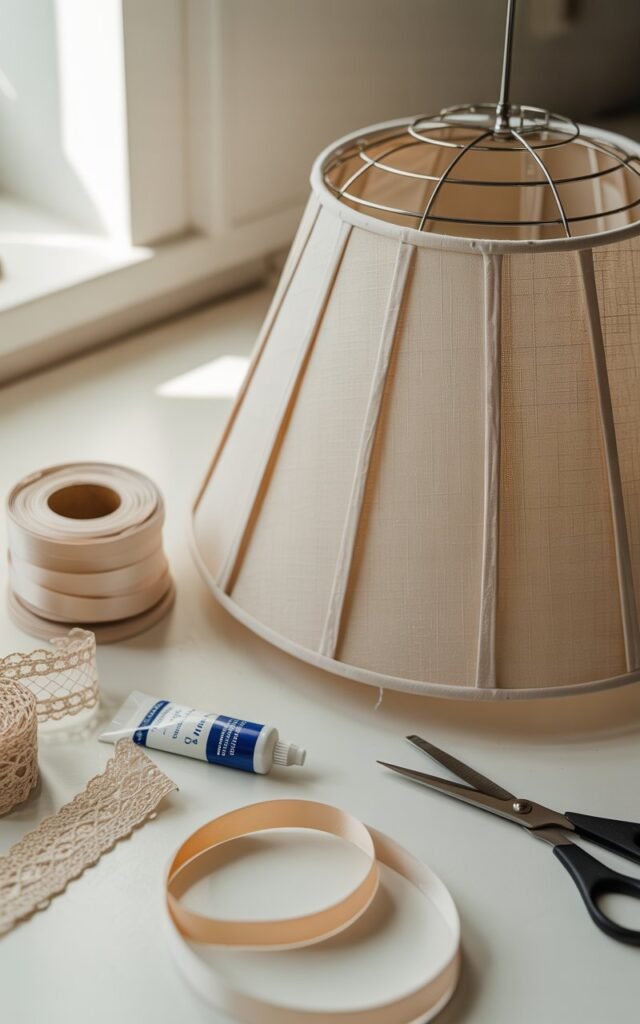
Recovering and Customizing Thrifted Lampshades
When I thrift, I often pick up high-quality lampshades even if I don’t have an immediate use for them.
If the shape is good and the quality is there, I know I’ll find a project for it later.
That said, lampshades do take up space, so it’s important to be mindful of storage.
I recently found a piece of fabric at the Goodwill bins that I knew would be perfect for recovering a shade I already had.
The shade had a sharp angle, which you often see in high-end lighting, but the color wasn’t right.
Even angled lampshades can be recovered. I traced the fabric using chalk and attached it with spray adhesive, which is forgiving and easy to reposition if wrinkles appear.
To tuck the fabric inside the shade, I used hot glue for better control.
Once everything was secured, I trimmed the excess fabric and added lamp tape from Amazon to conceal the edges for a finished look.
Budget Outdoor Lighting With Globe Lamps

With warmer weather approaching, outdoor lighting was high on my list.
Solar lights often give off a blue tone that I don’t love, so I wanted something warmer and more elevated.
I found a black metal base for three dollars and repurposed a tray I had previously made to use as the tabletop.
Instead of buying something new, I removed the legs I had added earlier so it could work as the top of a garden table.
Because the globe shade wasn’t clear, I chose to use a rechargeable light instead of solar.
I simply placed the globe over the light, added the tray on top, and the result was a similar look to high-end outdoor tables for under ten dollars.
DIY Woven Pendant Light Using a Thrifted Basket
Large woven pendant lights are difficult to find secondhand, but baskets are not.
I found a large basket in great condition for four dollars at a thrift shop.
After steaming and disinfecting it, I removed the handles so it could work as a ceiling fixture.
One of the best things about woven baskets is that they can be unraveled and rewoven.
This makes them a great option for renters who don’t want to mess with hardwiring.
I unraveled enough of the basket to fit it over the existing light bulb, then rewove and secured it with wire using needle-nose pliers.
For four dollars, this created a woven ceiling light that would be nearly impossible to find at retail for anywhere close to that price.
Easy Shade Fixes for Existing Ceiling Lights
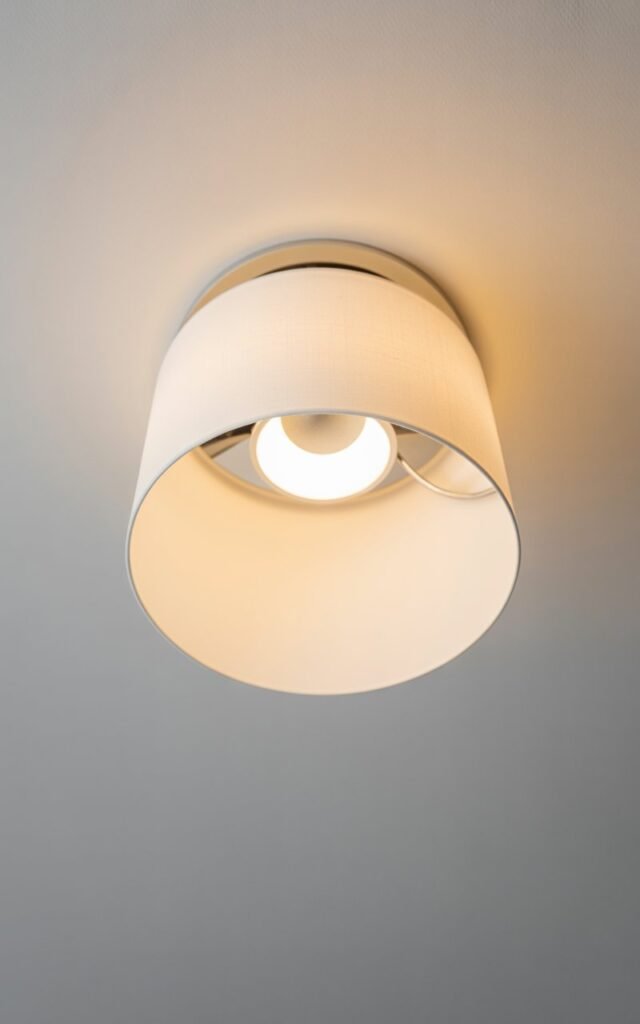
If you’re dealing with an outdated ceiling light and don’t want to replace it entirely, adding a drum shade can make a huge difference.
I found a drum shade for six dollars that fit perfectly over my existing fixture.
In this case, the notch in the shade allowed it to slide over the rod connected to the ceiling.
If you notice scuff marks on a lampshade, a magic eraser can sometimes work, but nail polish remover has been the most reliable solution for me.
It’s inexpensive, effective, and doesn’t leave residue.
For drum shades without a diffuser, choosing a decorative light bulb makes a big difference.
I like inexpensive options from Walmart that still look intentional and polished.
Affordable Outdoor Lantern and Solar Light Ideas
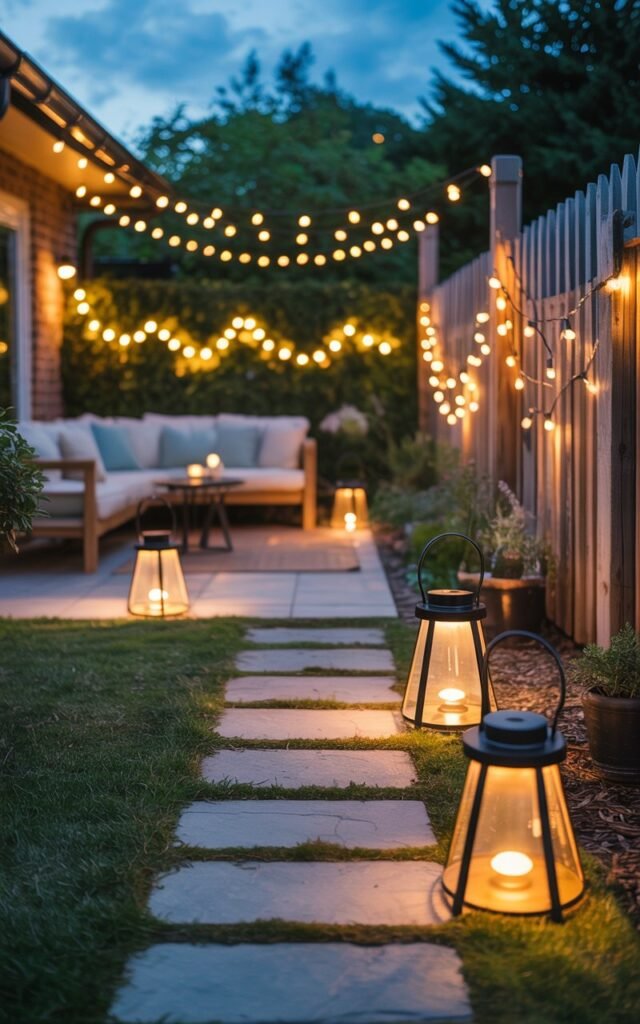
Outdoor lanterns can be extremely expensive when purchased retail.
If you find a metal container or candle holder, you can easily turn it into a light using magnetic or rechargeable lights.
For an even simpler option, solar lights work beautifully when used thoughtfully.
I took a solar light from Dollar General, removed the top, and attached it inside a candle holder using E6000.
The result was an affordable, beautiful outdoor light that required very little effort.