
If you’re looking for a way to get a cleaner body and scrub better, I’m sharing a realistic homemade hack that works.
This homemade body butter recipe is something I didn’t just read about once and forget.
It came from real frustration with dry skin, rough patches, and body products that promised results but didn’t deliver.
For a long time, I believed body lotions were enough.
But no matter how often I applied them, my skin still felt tight, dull, and dry—especially after bathing or exfoliating.
That’s when I realized something was missing. My skin needed nourishment, not just moisture.
Making my own body butter completely changed how my skin feels and looks.
It helped my skin stay softer after scrubbing, improved texture over time, and gave me that clean, smooth feeling that lasts all day.
In this post, I’m sharing exactly how I make my homemade body butter, why it works, and how you can adjust it to suit your skin.
Why Body Butter Works Better After Scrubbing
Scrubbing removes dead skin cells, but it also leaves your skin exposed and vulnerable to dryness.
When I used regular lotion after exfoliating, my skin felt soft for a few minutes, then dry again.
Body butter works differently because it:
- Locks moisture into freshly exfoliated skin
- Repairs the skin barrier
- Softens rough areas deeply
- Leaves a protective layer that lasts for hours
This is why body butter is perfect after body scrubs, bathing, or showering. It seals in that clean feeling instead of letting your skin dry out again.
Why I Stopped Using Store-Bought Body Butters
Most store-bought body butters contain fillers, synthetic fragrances, and preservatives.
Some even contain water as the first ingredient, which defeats the purpose of deep moisture.
When I started reading labels, I realized:
- Many products felt thick but didn’t nourish
- Some caused irritation or breakouts
- Others melted into oil without absorbing properly
Making my own body butter gave me control. I could choose ingredients that actually benefit my skin and avoid anything unnecessary.
What Makes This Homemade Body Butter Different
This recipe is simple, but powerful. It’s oil-based, water-free, and designed to work with your skin—not sit on top of it.
What I love most about this body butter:
- It melts into the skin instead of sitting greasy
- It keeps skin soft for hours
- It improves skin texture over time
- A small amount goes a long way
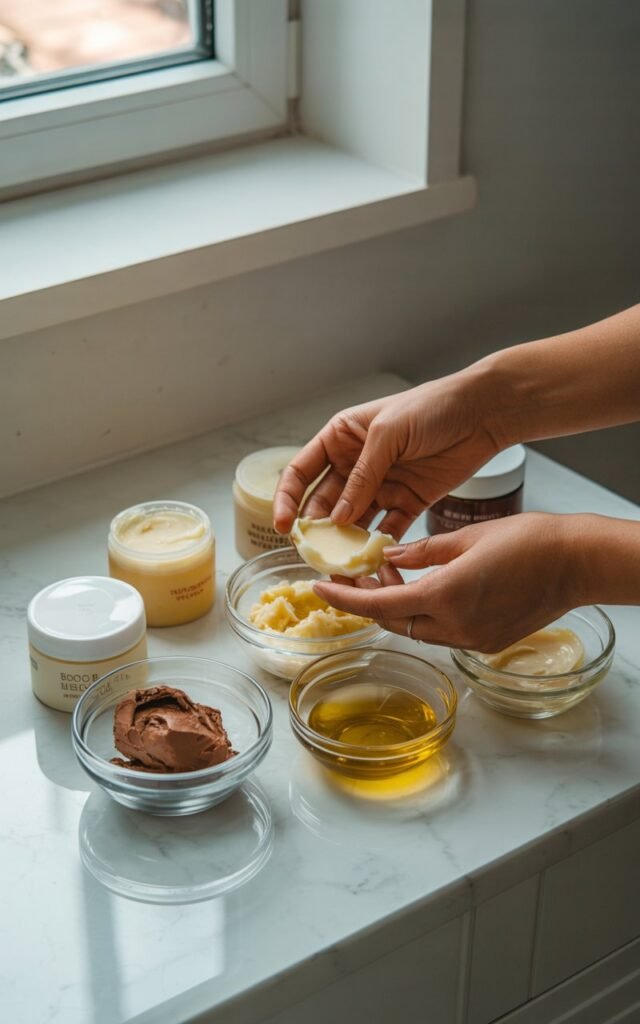
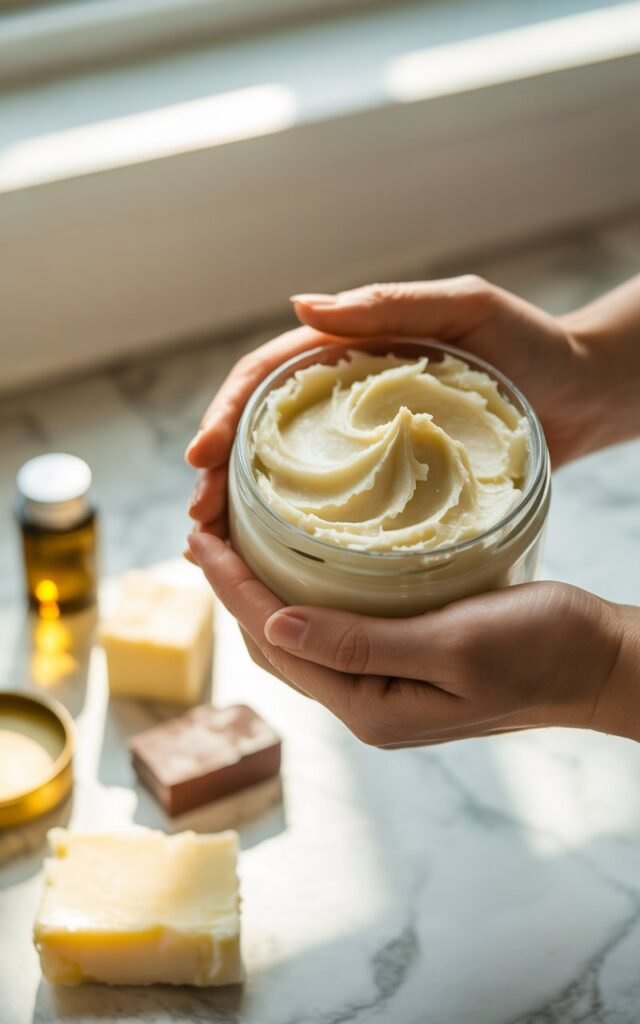
Ingredients for Homemade Body Butter
You only need a few ingredients, but each one matters.
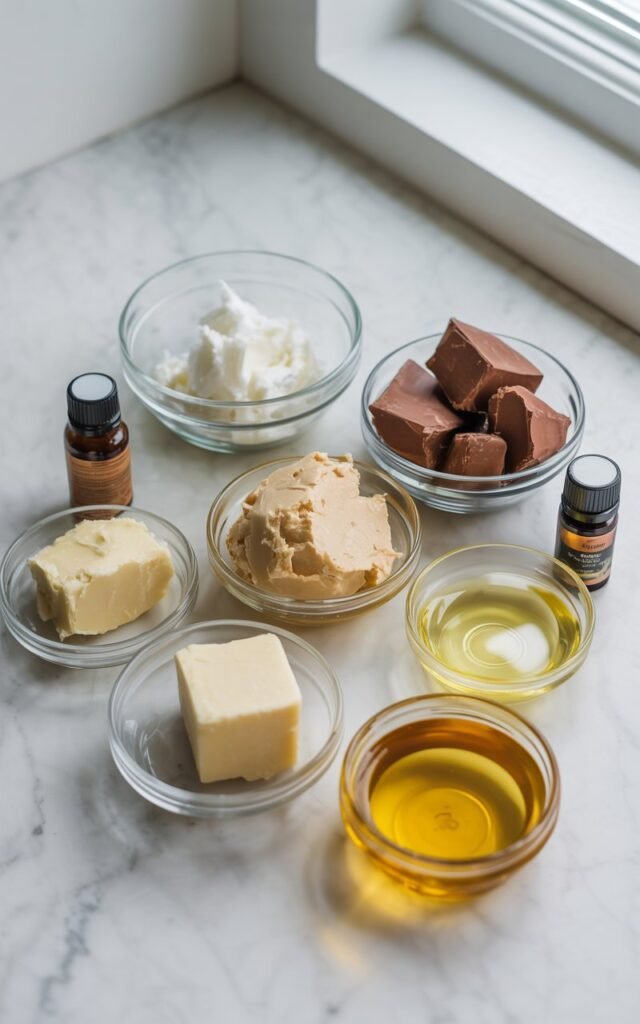
Core Ingredients
- 1 cup shea butter (unrefined works best)
- 1/2 cup coconut oil
- 1/2 cup sweet almond oil or jojoba oil
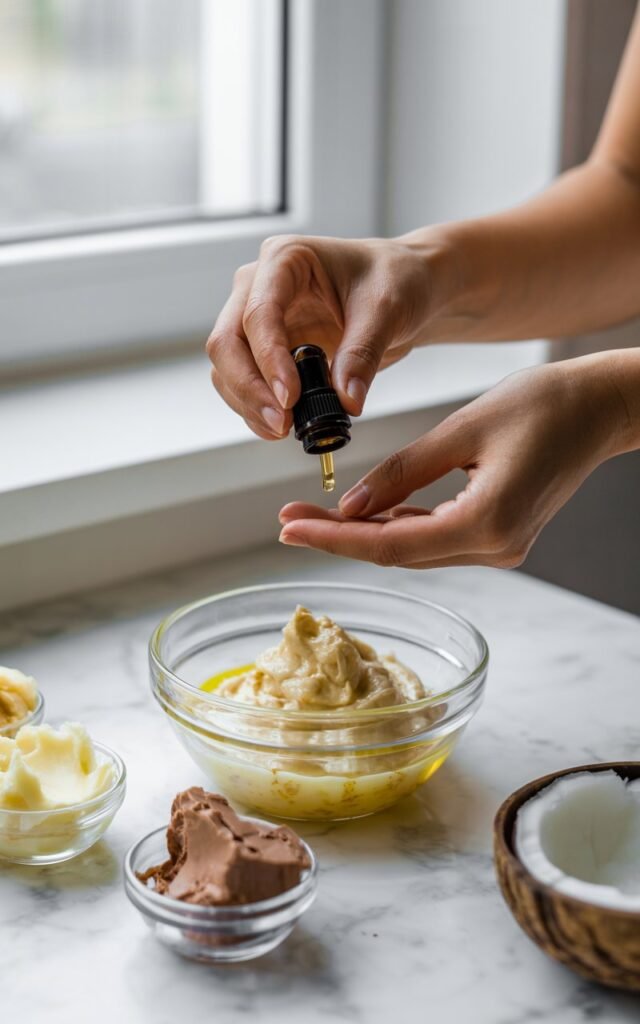
Optional Additions
- Vitamin E oil for skin repair
- Essential oils for scent
- Cocoa butter for a firmer texture
Shea butter nourishes deeply, coconut oil softens and protects, and almond or jojoba oil helps the butter absorb smoothly without clogging pores.
How to Make Homemade Body Butter Step by Step
This process is beginner-friendly and doesn’t require special equipment.
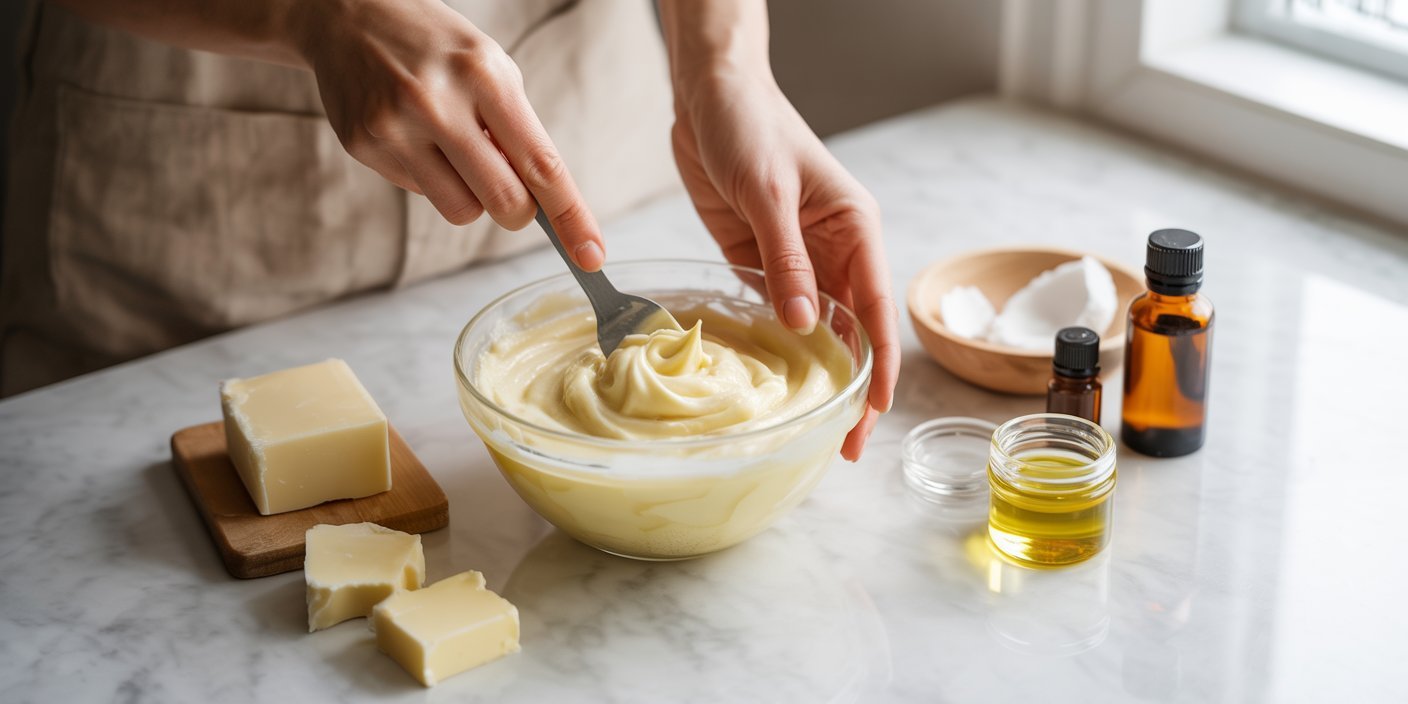
Step 1: Melt the Ingredients
Add the shea butter, coconut oil, and carrier oil into a heat-safe bowl. Melt gently using a double boiler or microwave in short intervals. Stir until fully combined.
Step 2: Cool the Mixture
Let the mixture cool at room temperature until it becomes slightly solid but not hard. This step helps achieve a fluffy texture later.
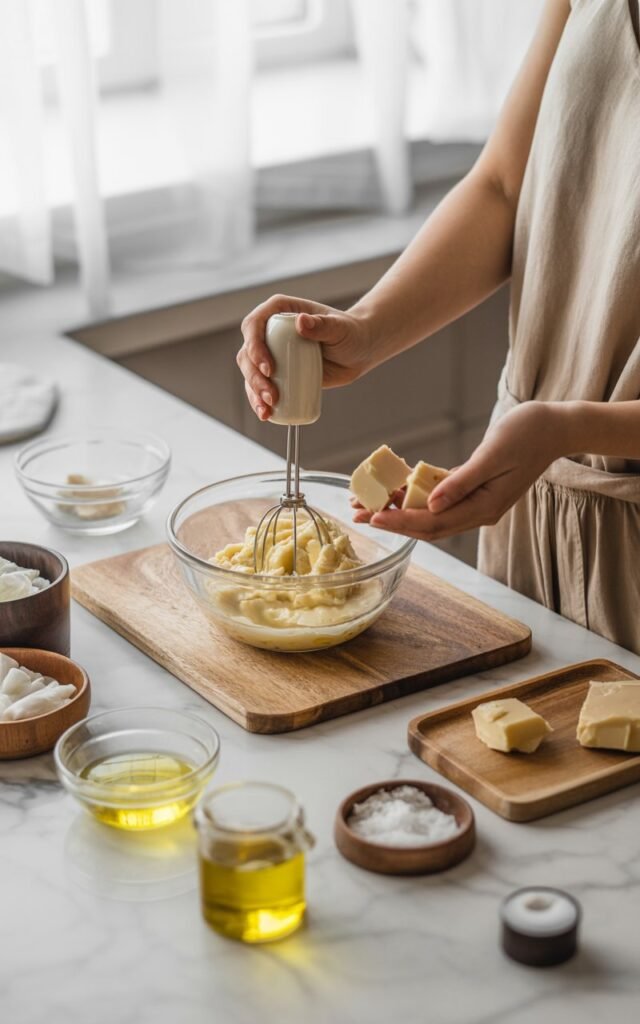
Step 3: Whip Until Light and Creamy
Using a hand mixer or stand mixer, whip the mixture for several minutes. It will turn pale and fluffy, similar to whipped cream.
Step 4: Add Extras
If using vitamin E or essential oils, add them during the whipping stage and mix well.
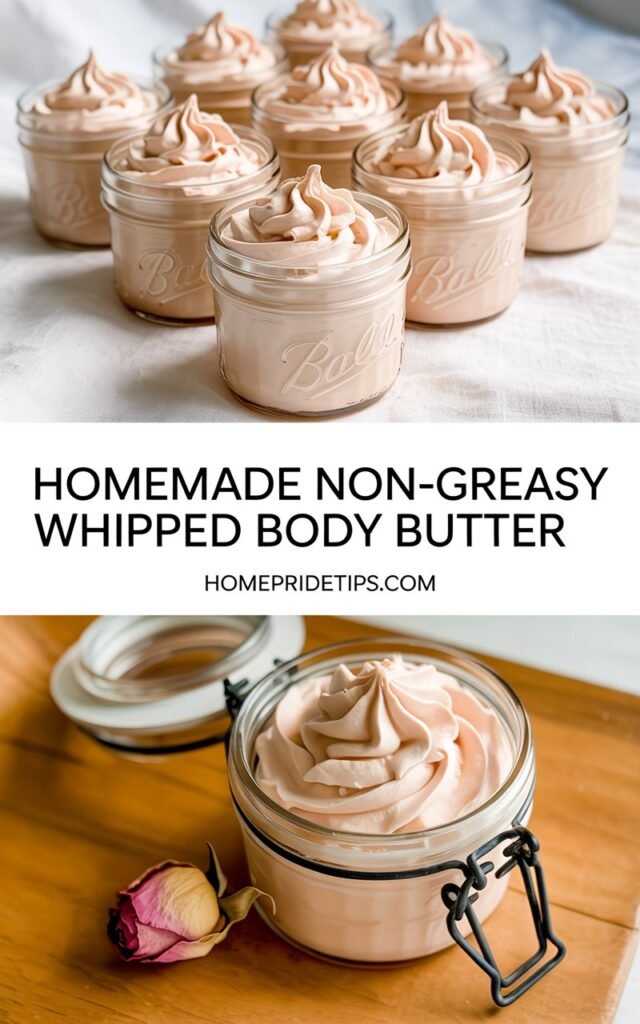
Step 5: Store Properly
Transfer your body butter into a clean jar and seal tightly.
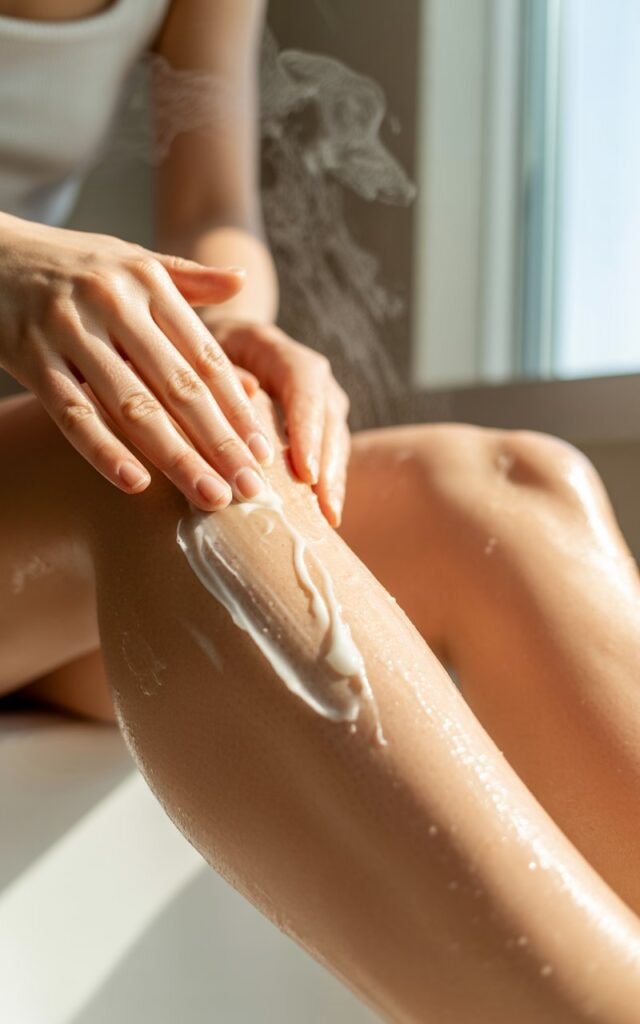
How I Use Body Butter for a Cleaner, Smoother Body
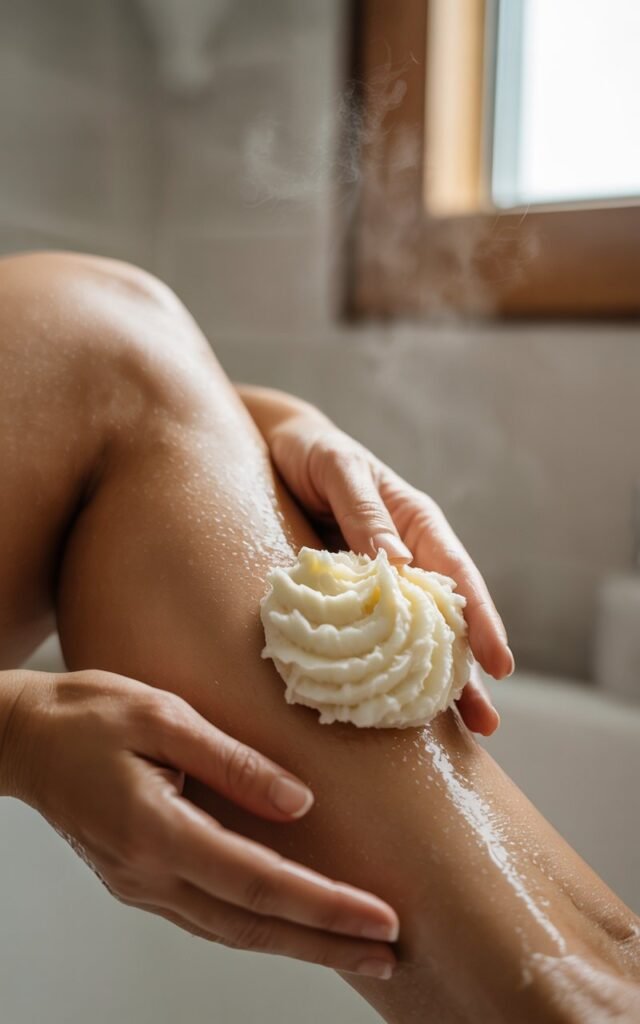
I always apply body butter right after scrubbing or bathing while my skin is slightly damp. This helps trap moisture and enhances softness.
I focus on:
- Arms and legs
- Elbows and knees
- Feet before bed
- Areas prone to dryness or stretch marks
This routine has made a noticeable difference in how clean, smooth, and healthy my skin feels.
Texture Tips From Experience

Getting the right texture takes a bit of practice. Here’s what I’ve learned:
- If it feels greasy, reduce the liquid oil
- For hot climates, add cocoa butter
- Whip longer for a lighter feel
- Store in a cool, dry place to prevent melting
Texture can change with weather, but the benefits stay the same.
Customizing This Body Butter for Your Skin Type
One of the best things about homemade body butter is flexibility.
For dry skin:
- Add more shea butter
- Use avocado or olive oil
For sensitive skin:
- Skip essential oils
- Use jojoba oil
For glowing skin:
- Add rosehip oil
- Include vitamin E oil
This makes the recipe suitable for almost everyone.
How Long Homemade Body Butter Lasts

Since this recipe contains no water, it lasts much longer than lotion.
With proper storage:
- Shelf life is 6 to 12 months
- Always use clean hands or a spatula
- Keep away from direct heat
My Personal Results After Switching to Homemade Body Butter
After a few weeks of consistent use, my skin felt noticeably softer and smoother.
Rough patches reduced, and my skin stayed hydrated even hours after scrubbing.
What stood out the most was how clean my skin felt—not just moisturized, but genuinely healthy.
I no longer felt the need to reapply products throughout the day.
Common Mistakes to Avoid
- Adding water to the mixture
- Overheating the oils
- Skipping the whipping process
- Using too much fragrance
- Storing in warm places
Avoiding these mistakes ensures consistent results.
Final Thoughts
This homemade body butter recipe is one of the simplest yet most effective skincare hacks I’ve tried.
If you want cleaner-feeling skin, better results after scrubbing, and long-lasting softness, this is worth making.
It’s affordable, customizable, and genuinely works. Once you experience the difference, it’s hard to go back to store-bought products.