
If you’re anything like me, you love a home that feels high-end and designer, but without the insane price tag.
Over the years, I’ve learned that you don’t need a huge budget to make your home look custom and polished—you just need the right DIY projects and a little creativity.
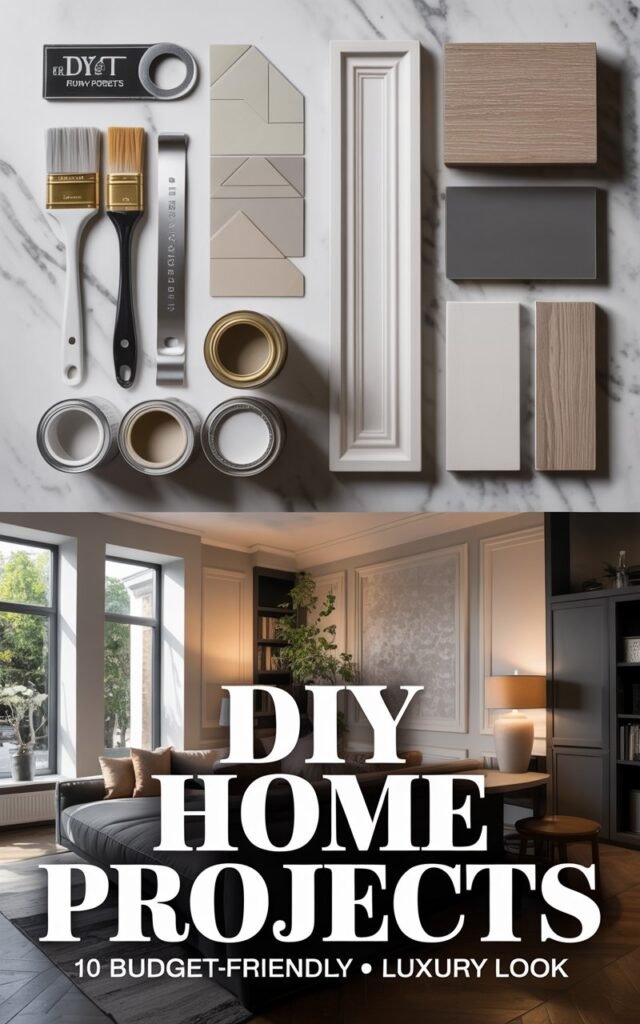
Today, I want to share some of my favorite designer-approved DIY projects that have completely transformed my home, while keeping costs low.
These are projects I’ve personally tried, and I can honestly say they make a huge difference.
Whether you’re a renter, a homeowner, or just someone who loves to update your space without hiring a professional, these ideas are perfect for you.
1. Turn Ikea Cabinets into Custom Built-Ins
One of my favorite tricks is using Ikea cabinets to create built-ins.
I did this behind my living room wall by lining up five Ikea Brim cabinets wall-to-wall.
I added baseboards, a little trim, and my own hardware, then painted everything.
Honestly, they look just like expensive, custom-built cabinets!
The key here is the finishing touches. Trim and paint can transform something that’s technically flat-pack into a polished, high-end feature.
This DIY saved me thousands compared to hiring a professional.
If you’ve ever wanted built-ins, this is an easy and affordable way to achieve that designer look.
2. Add Wall Sconces for Instant Style
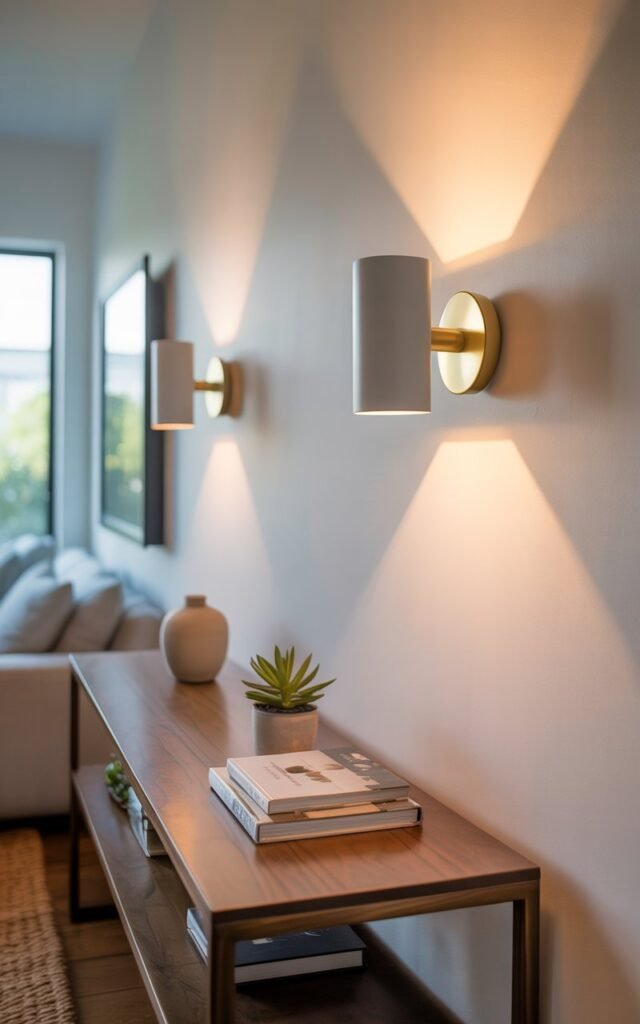
Lighting can completely change a room, and wall sconces are my go-to for adding a touch of luxury.
I use rechargeable wall sconces because they’re so easy to install—no hardwiring, no electrician needed.
You just screw the plate into the wall, add the fixture, pop in a rechargeable bulb, and you’re done.
The effect is incredible. Even when they’re turned off, they look like jewelry on your walls.
They add depth, highlight details, and make your home feel thoughtfully designed.
Many of mine even come with a remote for dimming or changing the light temperature, which is a bonus.
3. Camouflage Your Wall Outlets
This might seem small, but painting your outlet covers to match your walls makes a huge difference.
I buy paintable outlet plates and blend them seamlessly into my walls.
This is especially helpful if you have bold colors or wallpaper—suddenly, those white squares don’t break up the design.
It’s such a simple, inexpensive way to make your home feel more polished.
4. Create a DIY Staircase Runner
Staircase runners are expensive, but I found a clever hack.
Instead of buying one long custom runner, I used multiple smaller runners and carefully attached them together.
By hiding the seams under corners, it looks completely seamless.
I did mine for under $400, but I was originally quoted $2,000–$4,000 for a custom solution.
To figure out how much material you need, just add the depth of each tread to the height of each riser, then multiply by the number of stairs.
It’s surprisingly simple, and the result is stunning.
5. Paint Walls and Trim in Coordinating Sheens
Here’s a trick I use all the time: paint the walls and trim the same color but in different sheens.
For example, I use matte paint on walls and semi-gloss on trim.
It instantly elevates the space, makes rooms feel larger, and visually stretches the ceilings.
This is budget-friendly and can be done in a weekend.
It’s reversible too, so if you want to switch things up, it’s easy to repaint.
This little change gives a professional designer look without any extra cost.
6. Use Frosted Privacy Film
I love the look of frosted glass, but new doors and windows with privacy glass can get pricey fast.
My solution? Frosted privacy film.
It goes right over your existing glass, giving that high-end frosted look.
The best part is it’s removable, so you can change your mind later.
It installs in under 20 minutes and instantly upgrades any space while adding privacy.
I use this in bathrooms and doors, and it always looks seamless and luxurious.
7. Frame Builder-Grade Mirrors
Builder-grade mirrors can feel unfinished, but framing them is such an easy fix.
I simply attach a frame around the existing mirror using mirror-safe adhesive, no nails required.
You can paint the frame to match your walls or make it an accent, and it instantly transforms the bathroom or bedroom.
Framing mirrors is a quick DIY that makes a big impact and is way easier than replacing the entire mirror.
It’s one of those projects that feels luxurious but is totally affordable.
8. Reupholster Your Bed Frame
If you want a fresh bedroom look without buying a new bed, reupholstering your frame is a game-changer.
Even a wooden headboard can be transformed with foam, batting, and fabric.
I just wrapped the material around the headboard, stapled it behind, and it felt like a brand-new designer piece.
This is an easy, low-cost project that lets you change fabrics, patterns, and colors whenever you want.
I love that it keeps my bedroom looking fresh and up-to-date with the latest trends.
9. Upgrade with Peel-and-Stick Tile
Peel-and-stick tile is one of my favorite temporary solutions.
I used it in our sunroom to cover old flooring, creating a diamond checkerboard pattern that looks so realistic.
It’s perfect if you’re saving for permanent renovations but still want a polished look now.
It’s thick, adhesive, and surprisingly durable.
While not a forever solution, it allows you to enjoy a designer look in the meantime.
10. Add Wall Trim for Dimension
Finally, wall trim is my ultimate secret for adding luxury.
Adding dimension to walls instantly makes a space feel custom.
I’ve added trim in multiple rooms, and it creates visual interest without overwhelming the space.
Trim is DIY-friendly and makes a big impact—suddenly, your walls feel detailed and high-end, even without expensive furniture or wall art.
I keep adding it to every room I update, because the effect is just that good.
Final Thoughts
These DIY projects have completely changed the way I approach home design.
From built-ins to wall trim, staircase runners to peel-and-stick tiles, every small upgrade makes a noticeable difference.
The best part? These projects are affordable, easy to do, and give your home that luxurious, designer feel without spending a fortune.
If you try any of these, I’d love to hear how it goes! Which one are you most excited to do in your home first?